This one was fun to make. Follow my instructions on making tombstones for the initial part.
The additions to this are:
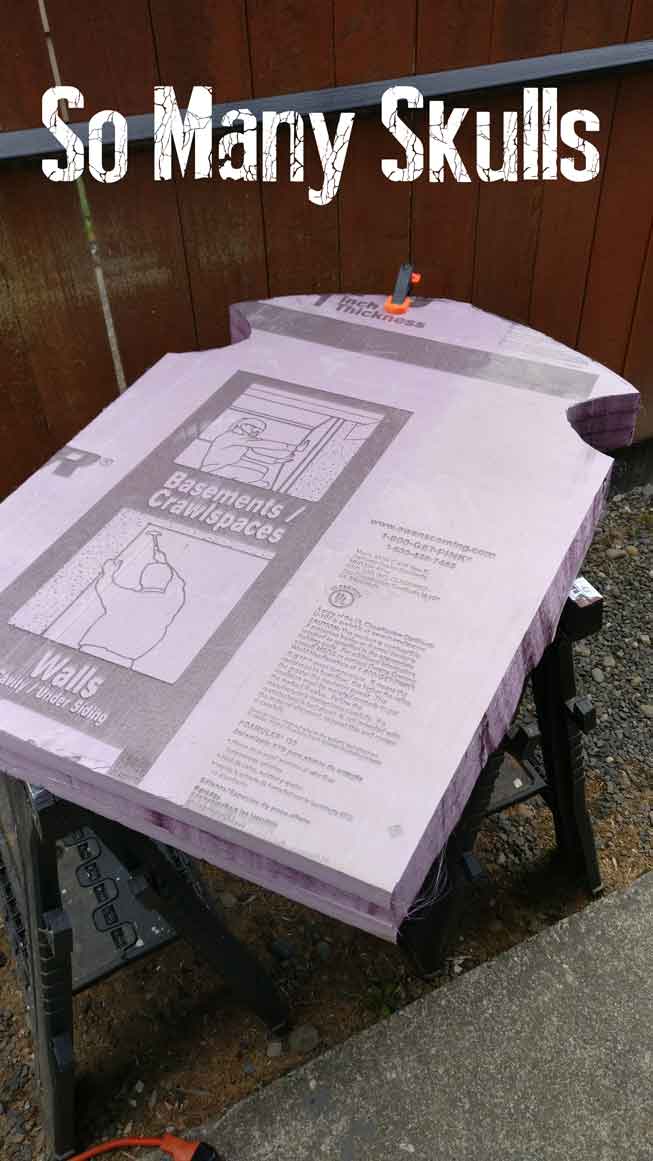
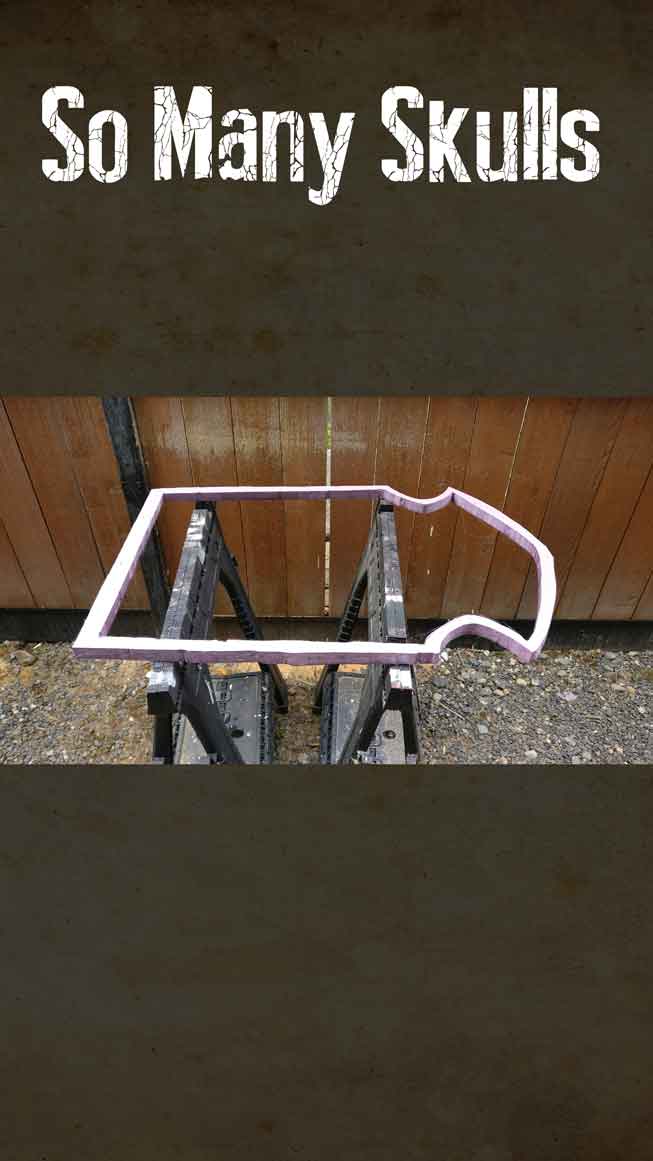
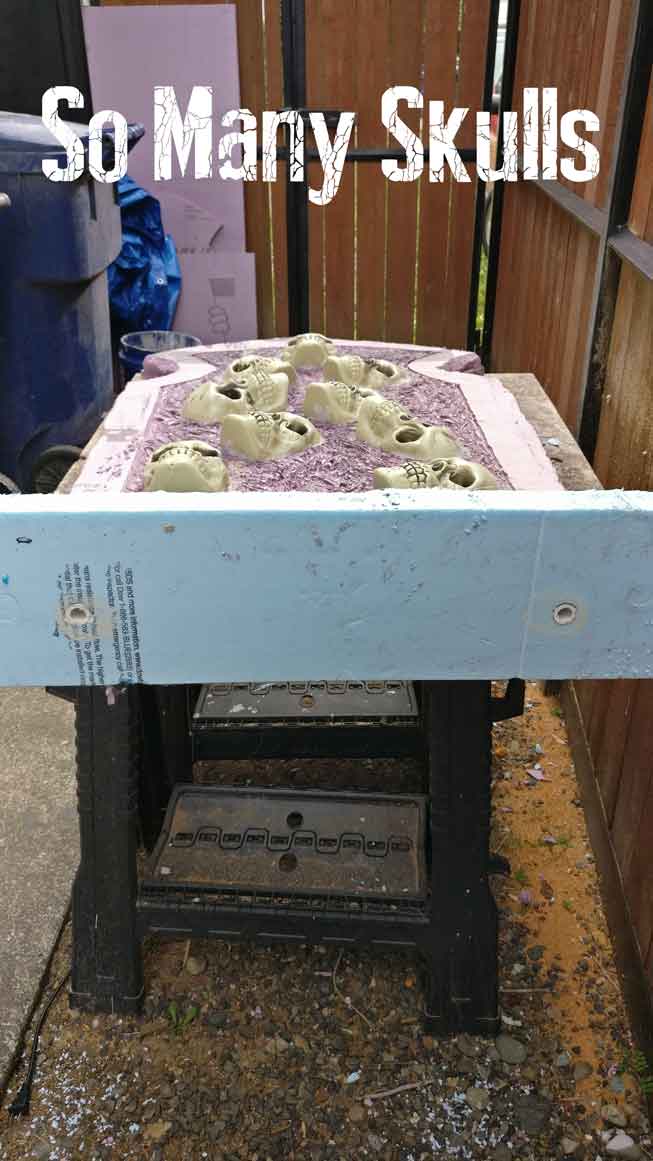
Hollow out the middle – To do this I had 3 layers for the tombstone. Th one in the middle is hollowed out.
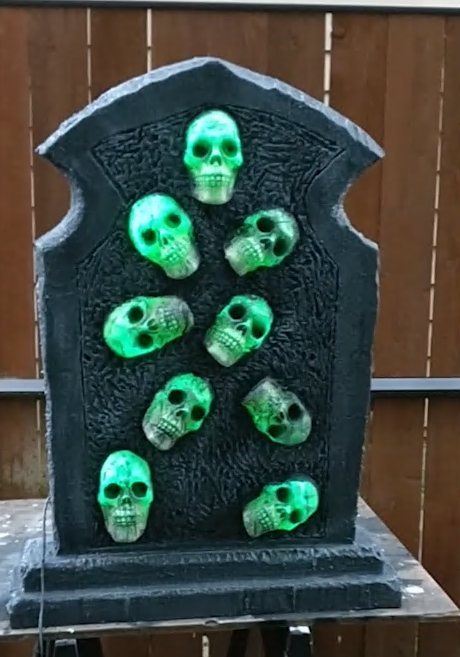
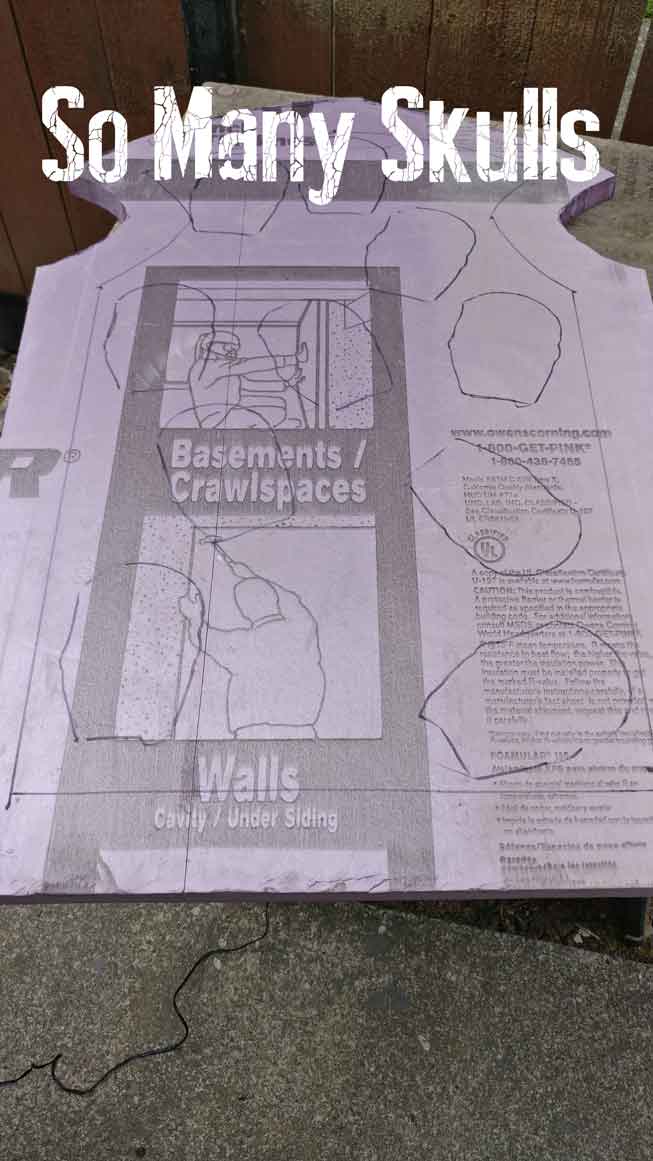
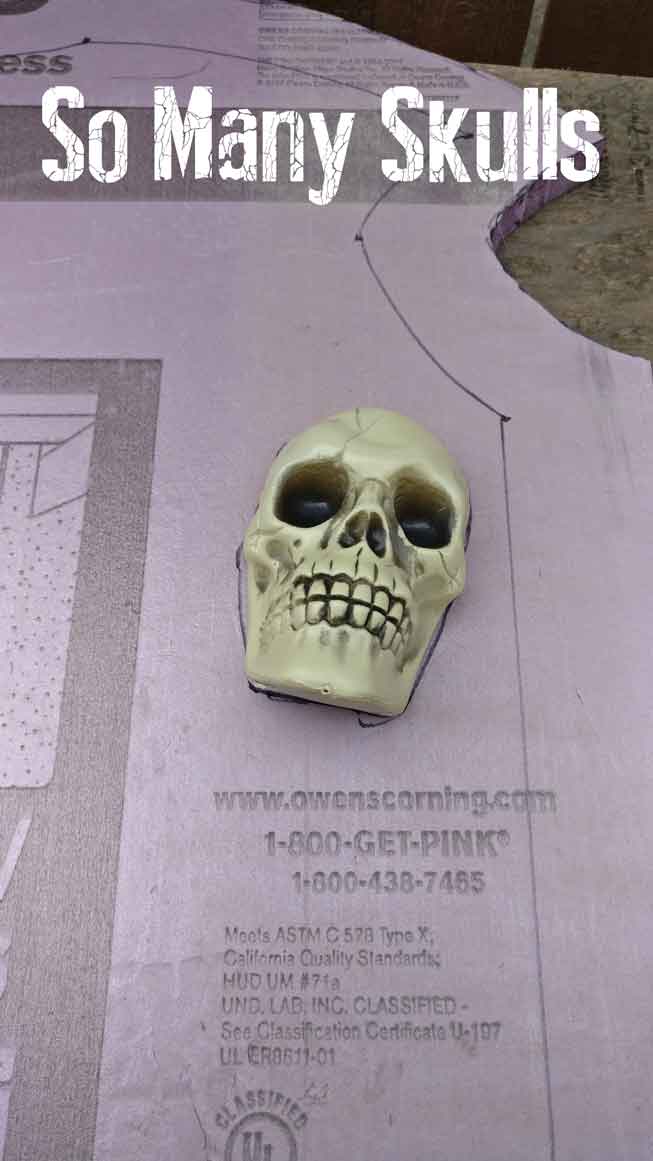
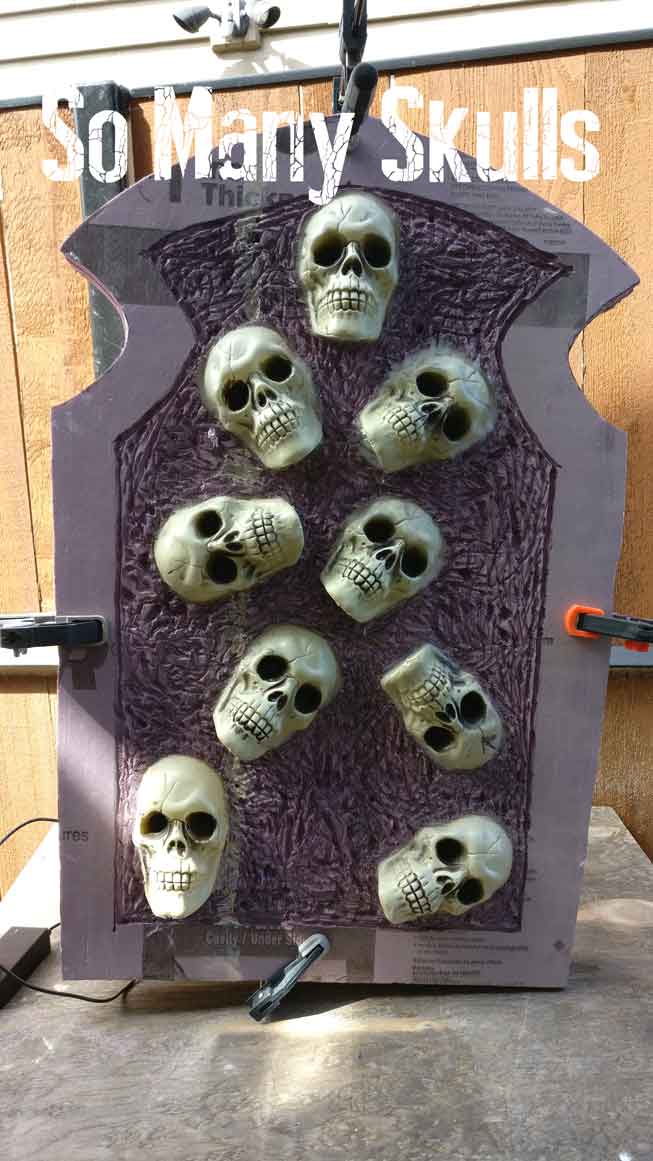
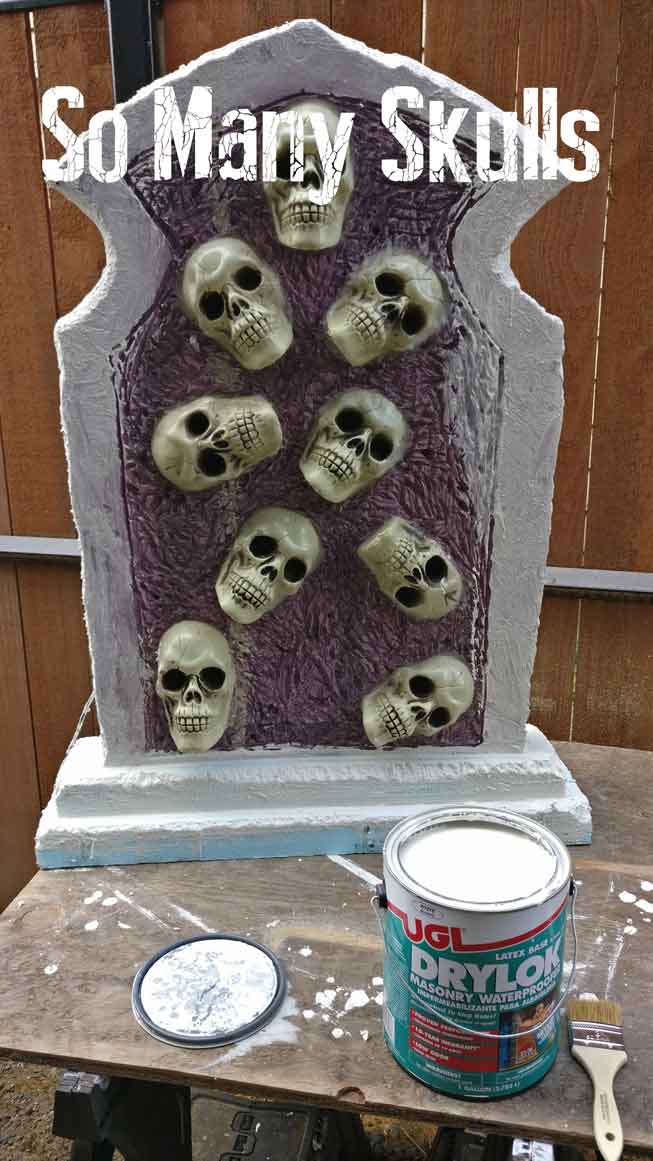
Attached skulls – On the top layer (facing a person), I cut out the areas I wanted the skulls to be. I cut the skulls in half then traced them out. Then I glued them on with liquid nails. To make them a bit more durable I also added Great Stuff to the inside.
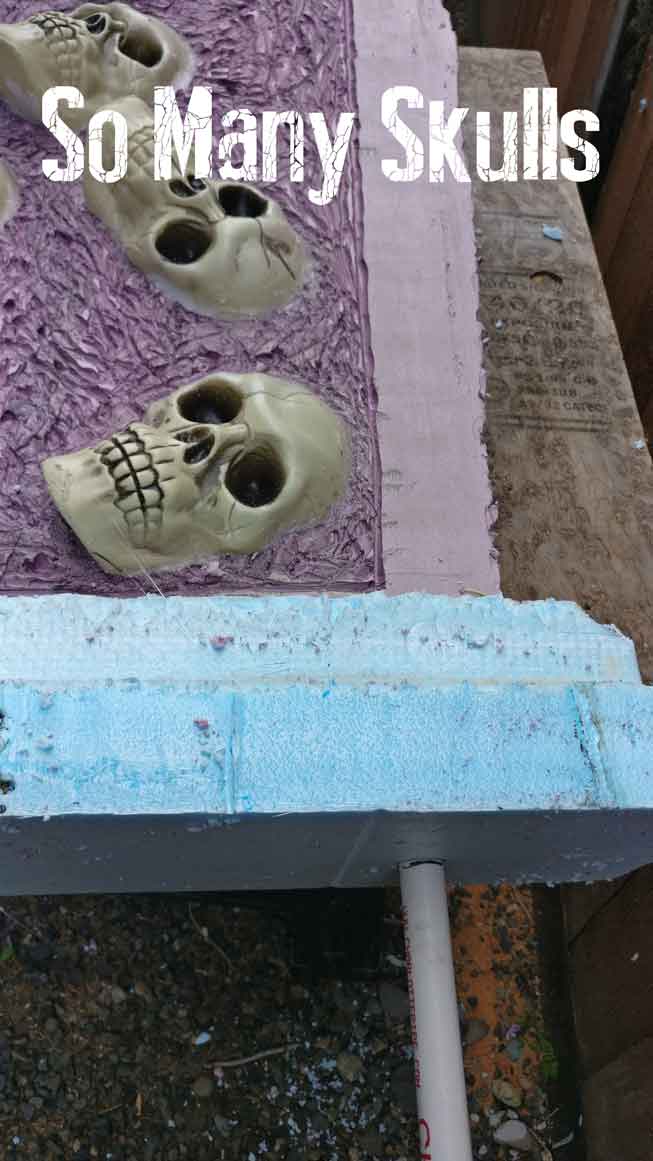
Inside the tombstone (hollowed area), I taped and then glued RGB lights. The trick here is to make sure they are not behind the skulls (image below shows I failed at that), and are facing away from them. Reasons! Light looks better when it’s reflected away because it looks more uniformed. If you face it outward then you end up with lines of light that are a lot brighter than others.
This is your last chance to make sure the lights work however you decide to hook them up. I attached a WiFi adapter so that I can change the lights on my phone or set them up on a routine. Cheapism note – You can get a RGB strip with WiFi included for cheaper than buying them separately.
Once you’re set seal it up with the liquid nails and and clamp it down for the night (or two depending on the weather). Then follow the rest of the instructions and you’re set.


