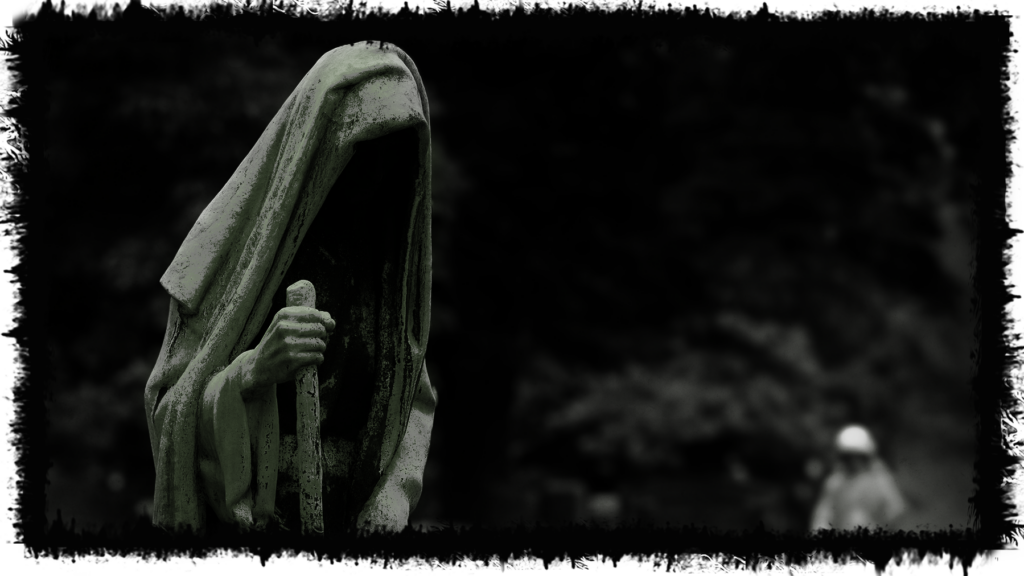
These were one of my first projects and I learned a lot from them. Mainly how to build the support structure inside to a prop and what textures can be applied. Plus they have survived the Pacific Northwest weather year after year so that’s a plus.
These are heavy as it’s made of fabric soaked in a cement mixture, but again, pretty easy.
If you follow the images below you can see that you build the insides first, then apply the cement-mixed fabric on top of it, Let it dry (I needed to post it up with wood), then paint and you are set. In the end I threw in some fairy lights and they have lasted on my steps for years now (Currently 2024).


