This was my second attempt at making ‘Witch Lamps’ or whatever you want to call them. The year prior I did them but used PVC. I thought this would be a little easier given that it already has a spot for you to place the light.
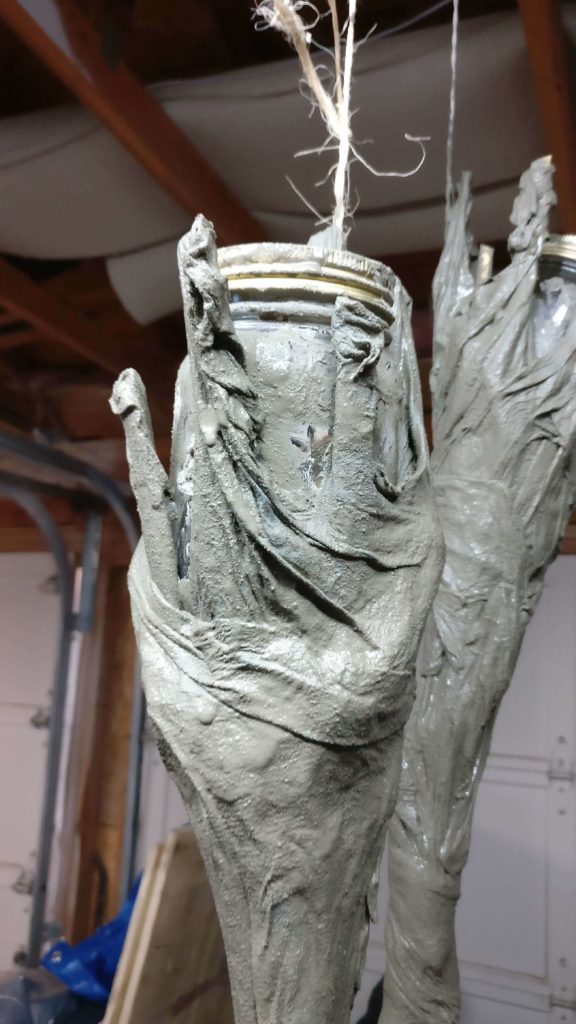
Instead of the normal paper mache, I used a 50/50 mix of Flexbond mortar mix and water with blue paper shop towels. It seemed to work a lot better given the moisture outside but also adds a lot to the weight.
Here are a couple more hints for you:
- When searching for the torch, check the bottom first. You want to be able to stick rebar in the bottom to help stand it up in the yard.
- Wearing gloves = you don’t get splinters.
- Paint dark to light.
Instructions
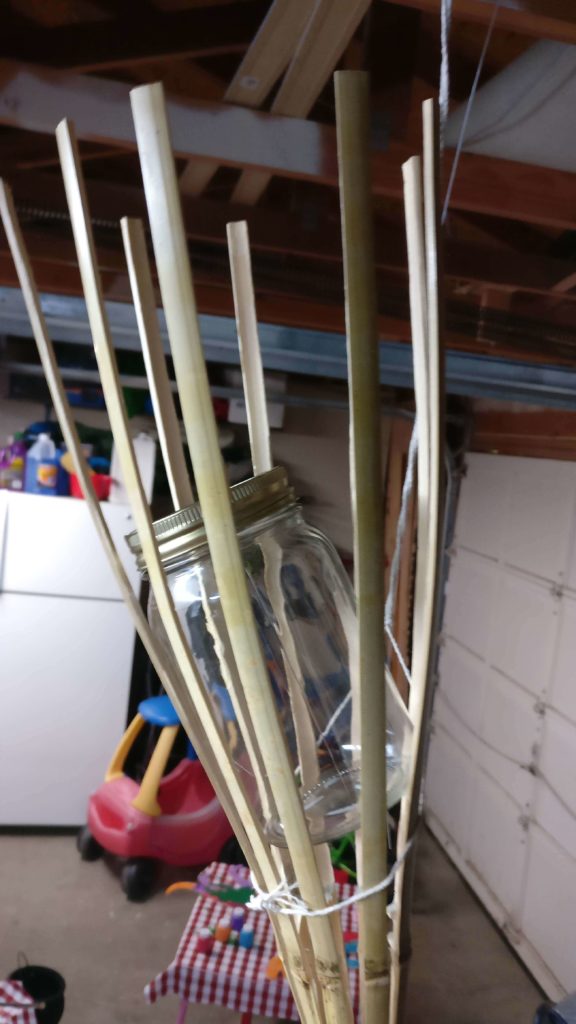
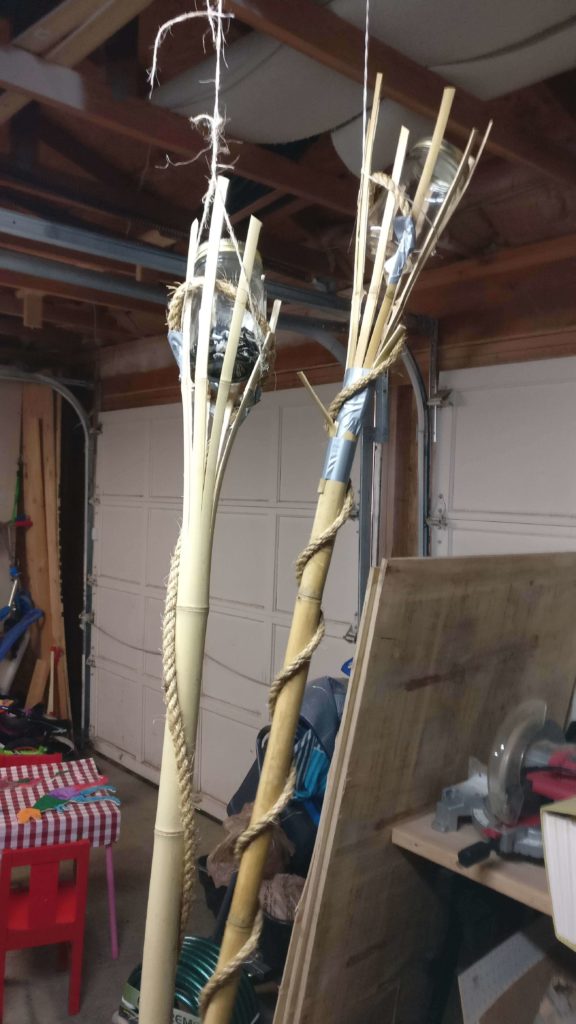
- Remove the canister from the torch and tear off the top portion so that only the vertical bamboo (spikes at this point), are left.
- Place a mason jar (or whatever you are using), into the top. This tells you how much to cut off and also the width you will need.
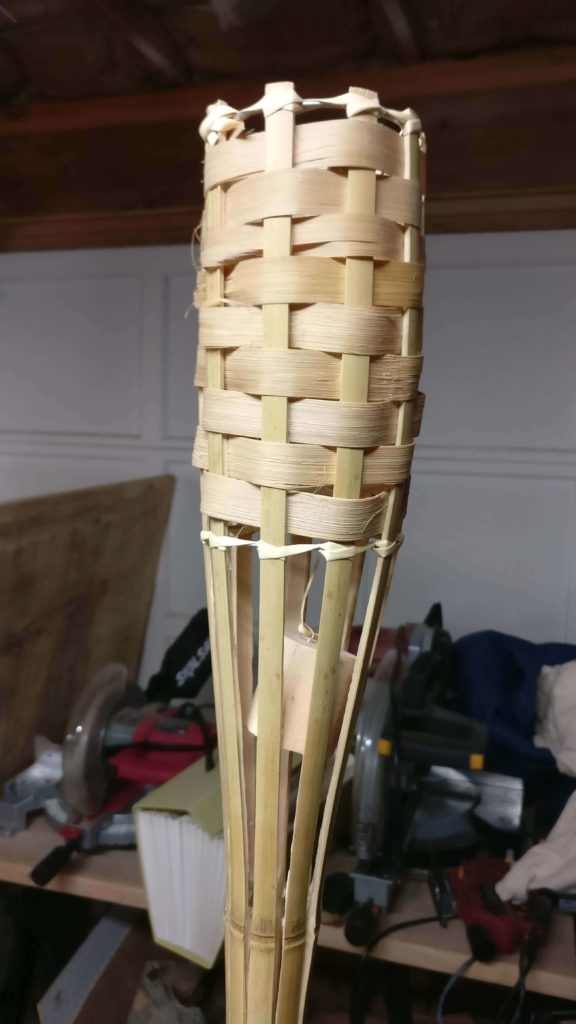
- Cut off the tips to the desired length.
- Add whatever item you want or have to add texture. The key point here is that you don’t want to keep it looking like a bamboo torch.
- I used rope and duct tape to add to it.
- Side note. Want thick rope at cheap prices, check out Harbor Freight. So much cheaper than Lowes, Home Depot, etc.
- I used the cut off tips from before to add ‘spikes’ or ‘broken wood’ to the staff.
- Once you’re happy with what you have cover it all in the mortar mix and let dry. I used paper towels to help it adhere to the bamboo. I would also do 2 coats if you can to make sure it’s covered.
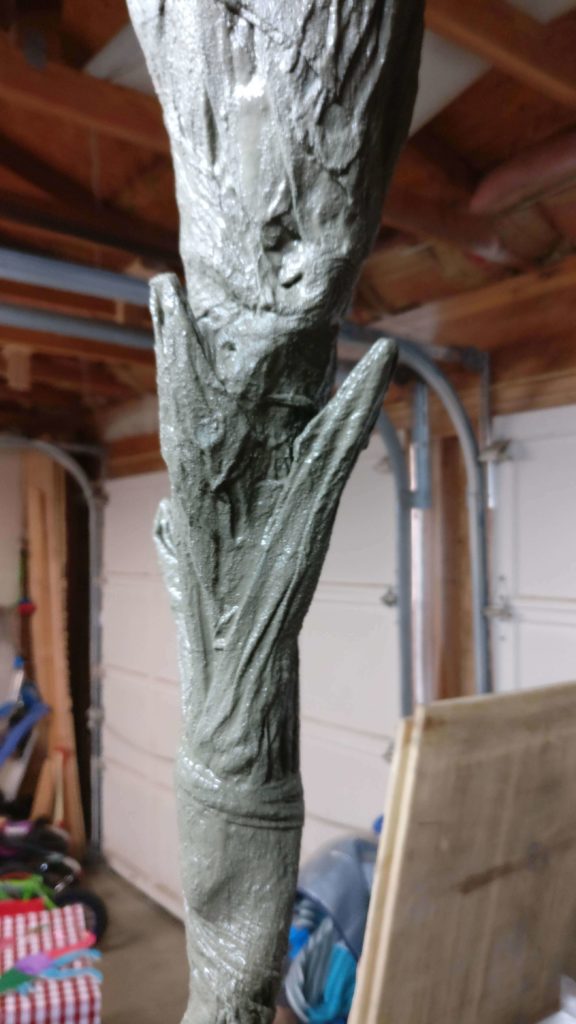
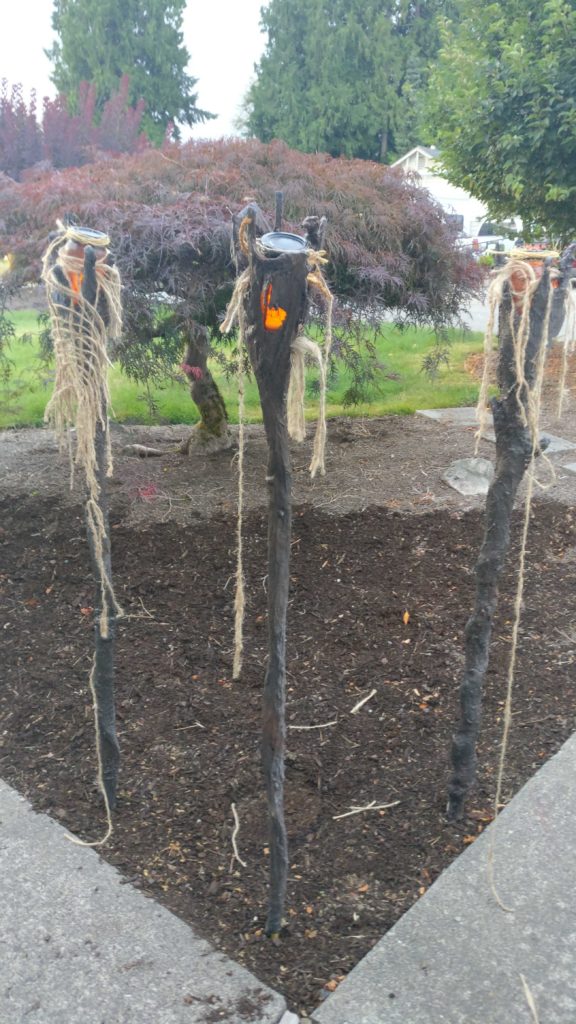
- Once it’s dry, paint away! Remember to start with dark to light. I used black, brown and some green. Don’t be afraid to mix them or the order up.
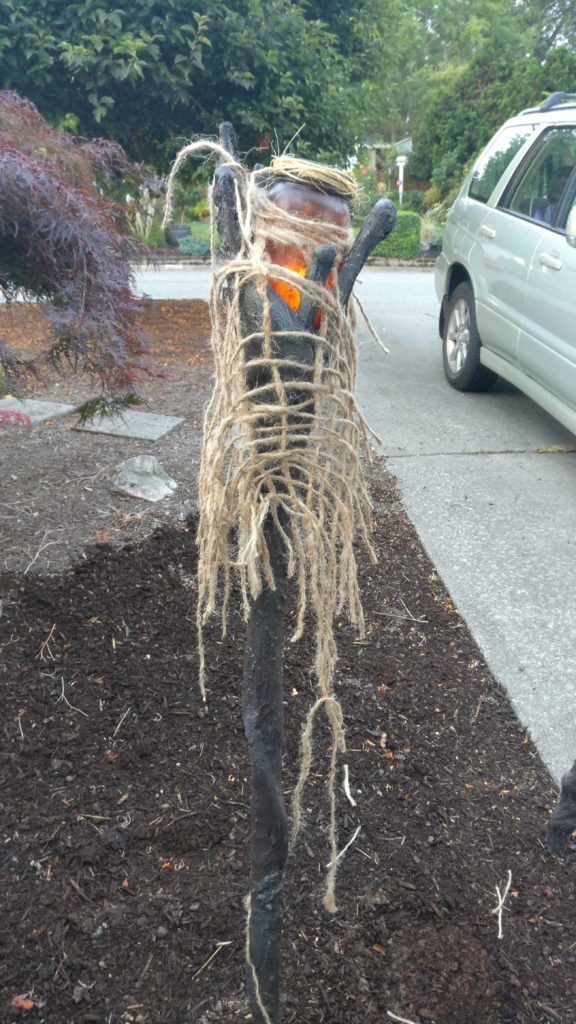
- Add some extras. I added the mason jar lights and some jute netting.
- I used rebar to make it stand up. See my Making it Real post for more information.